You know that feeling when the server at Chili’s walks toward your table with a ceramic plate, and you can already see the steam rising from a dark, rich mountain of cake? It’s iconic. The Chili’s chocolate molten cake recipe isn't just a dessert; it’s basically a cultural touchstone for anyone who grew up in the suburbs over the last thirty years.
It’s the crown jewel of the menu.
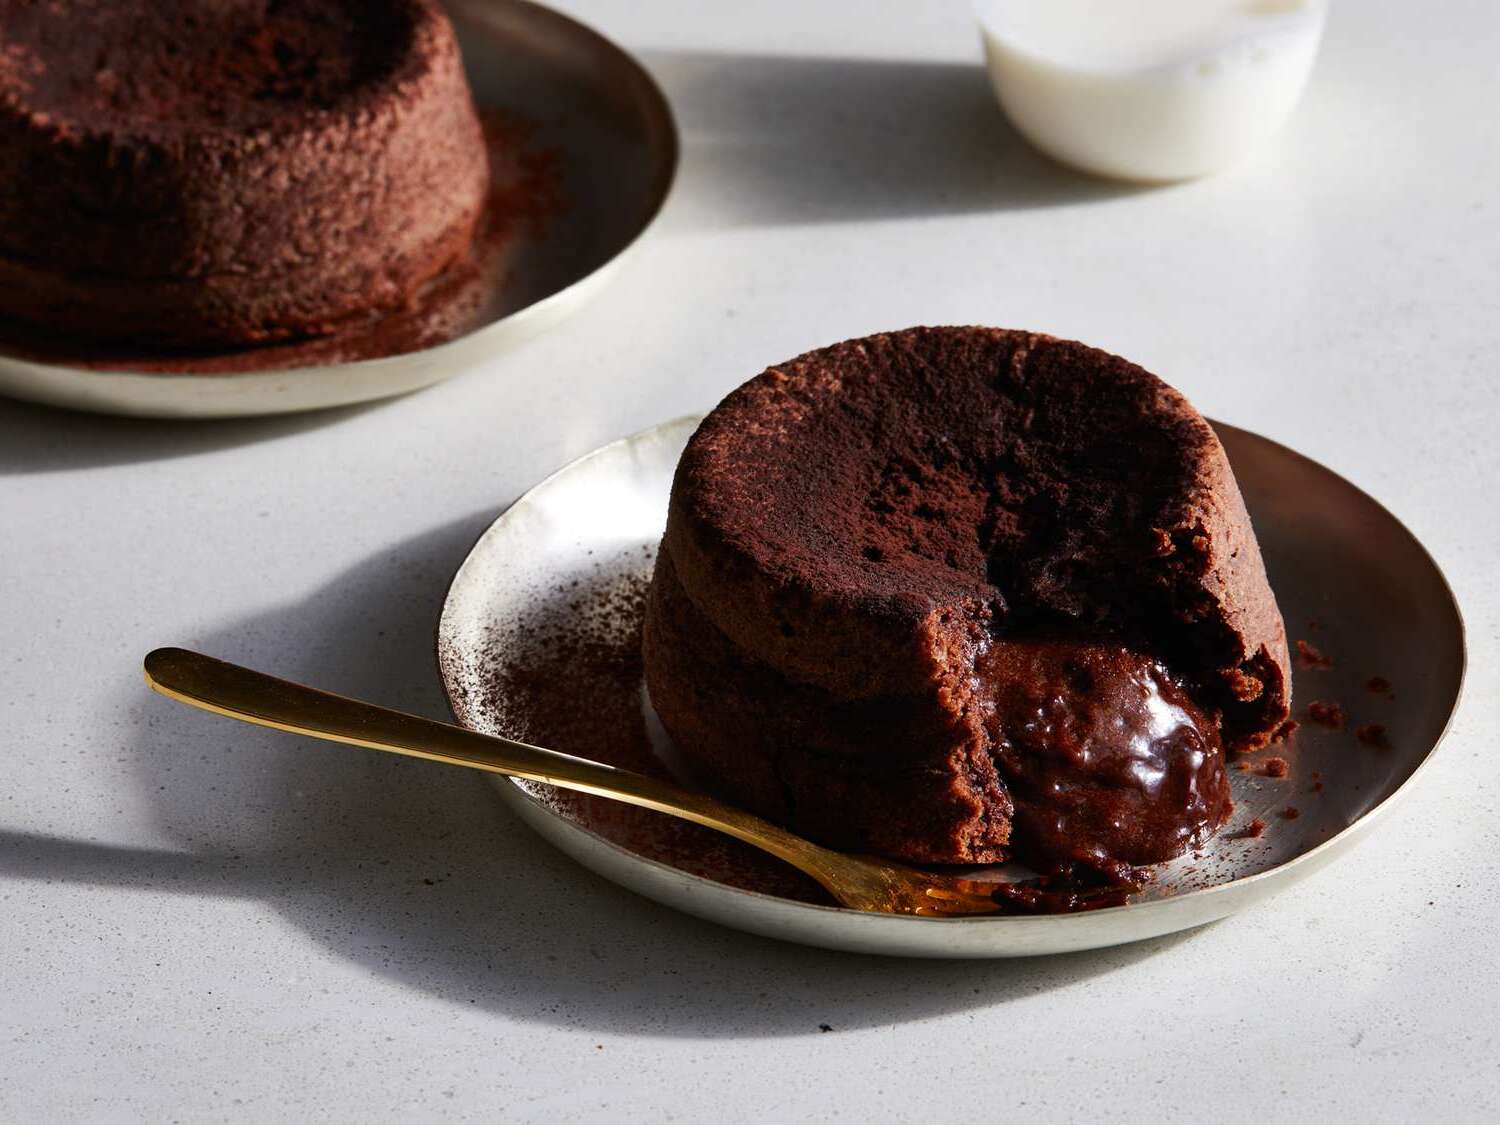
Honestly, the hardest part isn't even eating the cake—it's waiting for it to cool down enough so you don't burn your tongue on that first, glorious eruption of fudge. We’ve all been there.
There is something specific about the way Chili’s does it. It’s the contrast. You have the warm, spongy cake, the gooey center that’s more like a ganache than a syrup, and then that cold, hardening chocolate shell over the vanilla ice cream. Recreating it at home is tricky because most people think it’s just a "lava cake." It isn’t. A standard lava cake relies on underbaking the batter to keep the center raw and liquid. Chili's actually uses a distinct fudge filling.
Why Your Homemade Lava Cake Usually Fails
Most home cooks try to take a shortcut by just pulling a chocolate cake out of the oven five minutes early. Big mistake.
When you do that, the center is just raw eggs and flour. It tastes okay, but it lacks that velvety, professional finish. To get a true Chili’s chocolate molten cake recipe vibe, you need to think about architecture. You are building a cake around a core.
Think of it like a volcano. You wouldn't just hope the inside of a mountain stays liquid; you’d want a reservoir of actual magma. In this case, the "magma" is a pre-made fudge or a chilled ganache ball that you drop into the center of the batter before baking. As the cake sets, the fudge melts, but it stays thicker and richer than raw batter ever could.
The secret is the fat content.
If you use low-quality chocolate or a butter substitute, the texture breaks. It becomes oily. You want heavy cream and high-quality semi-sweet chocolate chips for that center. Don't skimp. If you’re looking at a generic brand of chocolate that feels like wax, put it back.
The Science of the "Shell"
One thing most "copycat" recipes get totally wrong is the topping. People just drizzle some Hershey’s syrup on top and call it a day. That's not it.
If you’ve ever watched the dessert being prepared or really analyzed it while eating, you’ll notice the chocolate topping on the ice cream hardens slightly. It creates a shell. This is a classic "magic shell" technique, usually involving a mix of chocolate and coconut oil. The coconut oil has a low melting point but stays solid at room temperature or when chilled by ice cream.
Essential Ingredients for the Base
- The Flour: You don't want cake flour here. You want All-Purpose. You need enough structure to hold that heavy fudge center without the whole thing collapsing into a pile of crumbs the second your spoon hits it.
- The Cocoa: Use a Dutch-processed cocoa powder if you can find it. It’s less acidic and gives that deep, almost black color that makes the cake look so indulgent.
- The Fat: Salted butter. Seriously. The salt cuts through the sugar and makes the chocolate taste more like... well, chocolate.
How to Assemble the Chili's Chocolate Molten Cake Recipe
First, you need ramekins. If you don’t have ramekins, you can use a jumbo muffin tin, but the release is going to be a nightmare. Grease them. Then grease them again. Then dust them with cocoa powder. Do not use flour to dust the tins; it leaves a white, chalky residue on the outside of your beautiful dark cake.
You’re going to cream your butter and sugar until it's fluffy. Add the eggs one by one. This is where people get impatient. If you don't emulsify the eggs properly, the cake will be dense and weird.
Once the batter is ready, fill the ramekin about halfway. Drop a tablespoon-sized dollop of chilled chocolate ganache (made from equal parts heavy cream and chocolate) right in the middle. Cover it with more batter.
When it bakes, the cake rises around the ganache.
The timing is the killer. At 350 degrees Fahrenheit, you’re looking at about 15 to 20 minutes. But every oven is a liar. You have to watch for the edges to be firm and the top to have a slight jiggle, but not a "sloshing" look. If it sloshes, it’s raw. If it’s rock hard, you just made a brownie.
The Ice Cream Factor
Do not buy "frozen dairy dessert." You need actual vanilla bean ice cream. The temperature difference is the entire point of the experience. The cake should be piping hot, and the ice cream should be straight from the freezer.
The Chili’s version uses a scoop that is perfectly spherical. If you want that aesthetic, use a spring-loaded disher. Place it right on the "crater" of the cake.
Then comes the drizzle.
Take that chocolate and coconut oil mixture and pour it over the cold ice cream. Within about 20 seconds, it will snap into a shell. That’s the pro move. If you want to be extra, add a little caramel drizzle too. Chili’s used to be very generous with the caramel, and it adds a salty-sweet note that rounds out the bitterness of the dark chocolate.
Common Pitfalls and How to Pivot
Maybe your cake stuck to the ramekin. It happens to the best of us. Honestly, if it breaks, don't throw it away. Just scoop it into a bowl, top it with the ice cream, and call it a "Deconstructed Molten Bowl." It tastes the same.
The biggest mistake is overbaking.
If you overbake it, the fudge center gets absorbed into the cake crumb. You’ll end up with a very moist muffin. It’s still edible, sure, but it’s not the experience you were going for. If you’re nervous, bake one "test cake" first before you put the whole batch in.
Another tip: let the cakes sit for exactly two minutes after pulling them out of the oven. This allows the outer structure to firm up just enough to survive the flip onto the plate. If you flip it immediately, the structural integrity is too weak, and the "lava" might burst out the side instead of waiting for your spoon.
Recreating the Magic
There’s a reason this dessert has stayed on the menu for decades while other trends have come and gone. It’s reliable comfort. By focusing on the ganache center rather than just undercooking the dough, you’re ensuring a food-safe, restaurant-quality result every single time.
It’s about the layers. The cake, the molten core, the cold cream, and the snapping chocolate shell.
When you get it right, your kitchen will smell like a professional bakery, and you’ll save yourself the twenty-minute wait for a table on a Friday night. Plus, you can have as much caramel as you want. No one is stopping you.
Actionable Next Steps
- Make the Ganache First: Prepare a simple ganache of 4oz chocolate and 1/2 cup heavy cream. Let it set in the fridge for at least two hours before you even touch the cake batter. It needs to be scoopable.
- Prep Your Ramekins: Use butter and cocoa powder to "flour" your tins. This ensures a clean release and a dark, beautiful exterior.
- Master the Flip: Use a small offset spatula to run around the edge of the cake before inverting it onto the serving plate. Confidence is key during the flip—don't hesitate!
- The Magic Shell: Mix 1 cup of chocolate chips with 2 tablespoons of coconut oil. Microwave in 15-second bursts until smooth. This is what creates that iconic hardening topping over the ice cream.
Success with a Chili’s chocolate molten cake recipe comes down to temperature control. Keep your center cold before baking and your oven steady, and you’ll nail that "lava" flow perfectly.