You know that feeling of standing over a stove, praying to the confectionery gods that your fudge won’t turn into a grainy mess or, worse, a bowl of chocolate soup? It’s stressful. Honestly, homemade candy has a reputation for being finicky because sugar is a volatile little crystal. But there is a reason your grandmother always had a can of evaporated milk in the pantry. Specifically, the carnation milk fudge recipe—often referred to as "Never-Fail Fudge"—has survived decades of food trends for one simple reason: it works.
Forget the fancy artisanal blocks that cost $12 at a seaside gift shop. We’re talking about that dense, creamy, slightly tacky texture that defines American holiday tradition. If you’ve ever wondered why some fudge feels like sand in your mouth while others melt like silk, it usually comes down to the science of evaporation and fat content. Evaporated milk is basically milk that has had about 60% of its water removed. This creates a concentrated, protein-rich liquid that acts as a buffer against those jagged sugar crystals we all hate.
Why Evaporated Milk Changes the Game
Sugar wants to be a rock. When you dissolve sugar in liquid and heat it up, you’re creating a supersaturated solution. As it cools, those sugar molecules want to find each other and huddle back into a solid form. In the world of candy making, this is called crystallization. If you use regular milk, the water content is high, and the margin for error is razor-thin. One splash of water or a stray crystal on the side of the pot and—boom—gritty fudge.
The carnation milk fudge recipe bypasses a lot of this drama. Because the milk is already "cooked" and concentrated, it’s more stable. It provides a creamy mouthfeel without the high water weight of whole milk. Most versions of this recipe rely on the "Five-Minute" method, which was popularized by the Carnation company (now owned by Nestlé) back in the mid-20th century. It’s a shortcut, sure, but it’s a shortcut that yields professional results because it uses marshmallows or marshmallow creme as a stabilizing agent.
Marshmallows are essentially gelatin and corn syrup. Gelatin is an interferent. It physically stands in the way of sugar molecules trying to bond together. So, when you combine the concentrated fats of evaporated milk with the structural integrity of marshmallows, you get a fudge that is structurally sound enough to slice but soft enough to bite through without effort.
The Ingredients You Actually Need
Don’t try to get too clever here. Fudge is about chemistry, not creativity—at least not in the base layer. You need a 1.5-ounce can of evaporated milk (that's the small one, though many people double it for the 12-ounce "tall" can), sugar, salt, butter, and a bag of semi-sweet chocolate chips.
Most people get tripped up on the chocolate. High-end 70% cacao bars are great for eating, but for a carnation milk fudge recipe, standard semi-sweet chips like Nestlé Toll House or Hershey’s are actually better. They contain stabilizers like soy lecithin that help the fudge stay emulsified. If you use a very high-fat, high-cacao chocolate, you risk the fudge "breaking," where the fat separates and leaves a greasy yellow film on top. It's gross. Stick to the basics.
The Power of Real Butter
Do not use margarine. Just don't. Margarine has a higher water content and various vegetable oils that don't solidify at the same temperature as milk fat. For that classic "snap" and rich finish, use unsalted butter. This allows you to control the salt level yourself. A pinch of salt is mandatory because it cuts through the cloying sweetness of the marshmallow and sugar.
The 5-Minute Boil: A Precision Sport
Here is where people mess up. The recipe usually says "bring to a full rolling boil for five minutes."
What is a "full rolling boil"? It means a boil that doesn't stop bubbling even when you stir it. If the bubbles disappear when you move your spoon, you aren't there yet. Start your timer only once the surface is a violent, frothy sea of beige bubbles.
You have to stir. Constantly. Scrape the bottom. Scrape the corners of the pan. If you let the milk solids scorch on the bottom, you’ll end up with little brown flecks of burnt protein in your fudge. It won't ruin the safety of the food, but it'll taste "off"—sort of like a campfire gone wrong.
Five minutes is the sweet spot. If you undercook it, the fudge won't set and you’ll be eating it with a spoon. If you overcook it, it becomes crumbly and dry. If you have a candy thermometer (and honestly, you should spend the $10 to get one), you’re looking for the "soft ball" stage, which is roughly $234°F$ ($112°C$). At sea level, that is. If you're in Denver or somewhere high up, you need to adjust that temperature downward because water boils at a lower temperature at high altitudes.
Variations That Won't Ruin the Batch
Once you’ve mastered the base carnation milk fudge recipe, you can start messing with the flavors. But keep the ratios the same.
- The Peanut Butter Swap: Replace half the chocolate chips with peanut butter chips. It’s a classic for a reason.
- The Peppermint Crunch: Stir in crushed candy canes right at the very end, just before you pour it into the pan. If you stir them in while it's too hot, they just melt and turn the fudge a weird streaky pink.
- The Toasted Walnut: If you're adding nuts, toast them in a dry skillet for three minutes first. It wakes up the oils and keeps them from tasting like cardboard inside the heavy fudge.
Some people swear by adding a teaspoon of instant espresso powder. It doesn't make the fudge taste like coffee; it just makes the chocolate taste more like... chocolate. It deepens the profile.
The Cooling Phase: Don't Touch It
This is the hardest part. You’ve poured the glossy, molten lava into your lined 8x8 pan. It smells incredible. You want to cut a corner off.
Don't.
Fudge needs time for the crystal structure to stabilize. If you move it or poke it while it’s cooling at room temperature, you can actually trigger late-stage crystallization that makes it grainy. Let it sit on the counter for at least an hour before moving it to the fridge. Total set time should be about two to three hours. If you can wait overnight, you’re a hero, and your reward will be the cleanest slices of your life.
Use a long, thin knife dipped in hot water (and wiped dry) to get those perfect squares. It makes a difference.
Troubleshooting Your Fudge
Sometimes things go sideways. Even with a reliable carnation milk fudge recipe, humidity can be a factor. If it’s a rainy day, the sugar can actually pull moisture from the air, making the fudge softer than usual.
If your fudge didn't set, don't throw it out. It’s basically a high-quality chocolate ganache at that point. Use it as a cake filling, or heat it up slightly and pour it over vanilla bean ice cream. If it’s too hard or crumbly, you likely boiled it for six or seven minutes instead of five. In that case, crumble it up and use it as a "mix-in" for brownies or cookies. Nothing goes to waste in a kitchen that respects the ingredients.
Actionable Steps for Your Next Batch
To ensure your fudge turns out like a pro's, follow these specific technical steps:
- Prep the Pan First: Line your pan with parchment paper or aluminum foil, leaving an overhang on the sides. This "sling" allows you to lift the entire block out once it's cool, so you aren't hacking away at it inside the pan.
- Use a Heavy-Bottomed Pot: Thin pots have hot spots. A heavy saucepan distributes heat evenly, preventing the milk from scorching during that critical five-minute boil.
- The Cold Water Test: If you don't have a thermometer, keep a glass of ice water nearby. Drop a small spoonful of the boiling mixture into the water. If it forms a ball that flattens when you take it out (soft ball), it's done.
- Add Vanilla Last: Vanilla extract is alcohol-based. If you add it while the mixture is boiling, the flavor evaporates. Stir it in along with the chocolate chips and marshmallows after you’ve taken the pot off the heat.
- Storage Secrets: Store the fudge in an airtight container with wax paper between the layers. It stays fresh at room temperature for about two weeks, or you can freeze it for up to three months. Just wrap it tightly in plastic wrap then foil to prevent freezer burn.
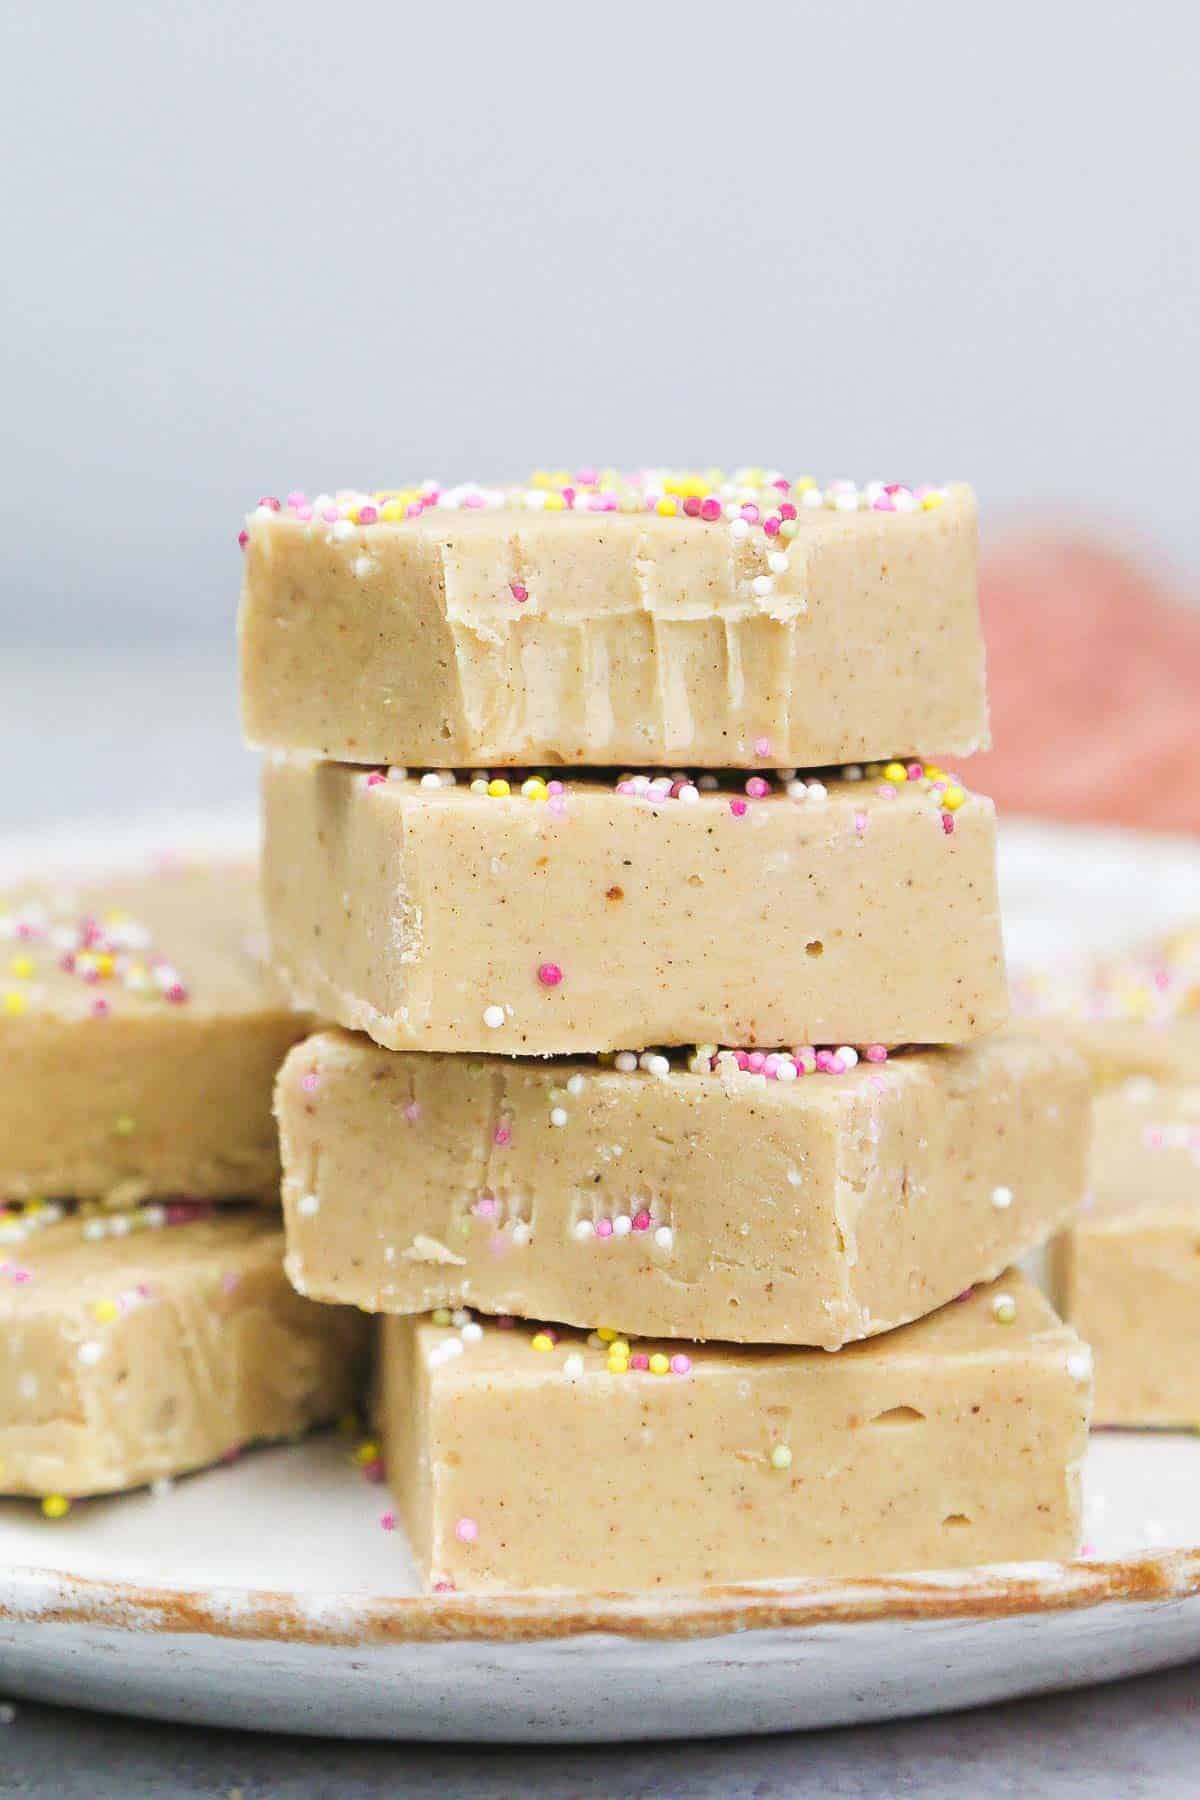
Making fudge isn't about luck. It's about respecting the temperature and using the right emulsifiers. When you use a carnation milk fudge recipe, you're leaning on a century of food science that favors the home cook. Get your timer ready, keep your spoon moving, and don't rush the cooling process. You'll end up with a batch that looks exactly like the photos—and tastes even better.